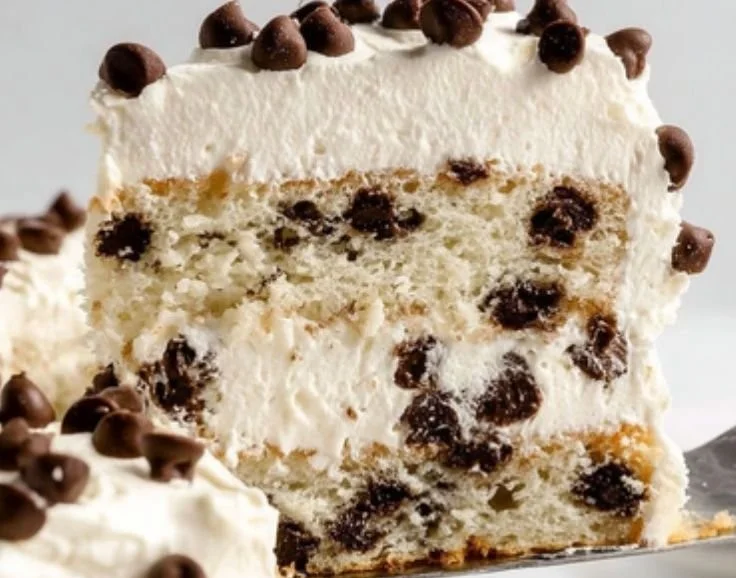
There’s something magical about cakes that transport us back to cherished moments—those heartwarming gatherings where laughter dances in the air and love is baked right into the ingredients. For me, Cannoli Cake is more than just a dessert. It’s a nostalgic journey to my grandmother’s bustling kitchen, where the aroma of sweet ricotta mingled with chocolate chips filled the room, and every taste felt like a hug. Each slice of Cannoli Cake carries a piece of that warmth, making it a delightful addition to any special occasion or just a simple evening at home. Let’s dive into this scrumptious recipe that’s sure to become a new favorite!
Recipe Timing
- Prep Duration: 20 minutes
- Active Cooking: 30 minutes
- Total Duration: 50 minutes
- Portion Size: Serves 10-12
- Complexity: Moderate
Nutritional Recipe
- Calories per portion: Approximately 350
- Protein: 4g
- Carbs: 45g
- Fats: 18g
- Fiber: 1g
- Sugars: 20g
- Sodium: 280mg
Why You’ll Love This Cannoli Cake
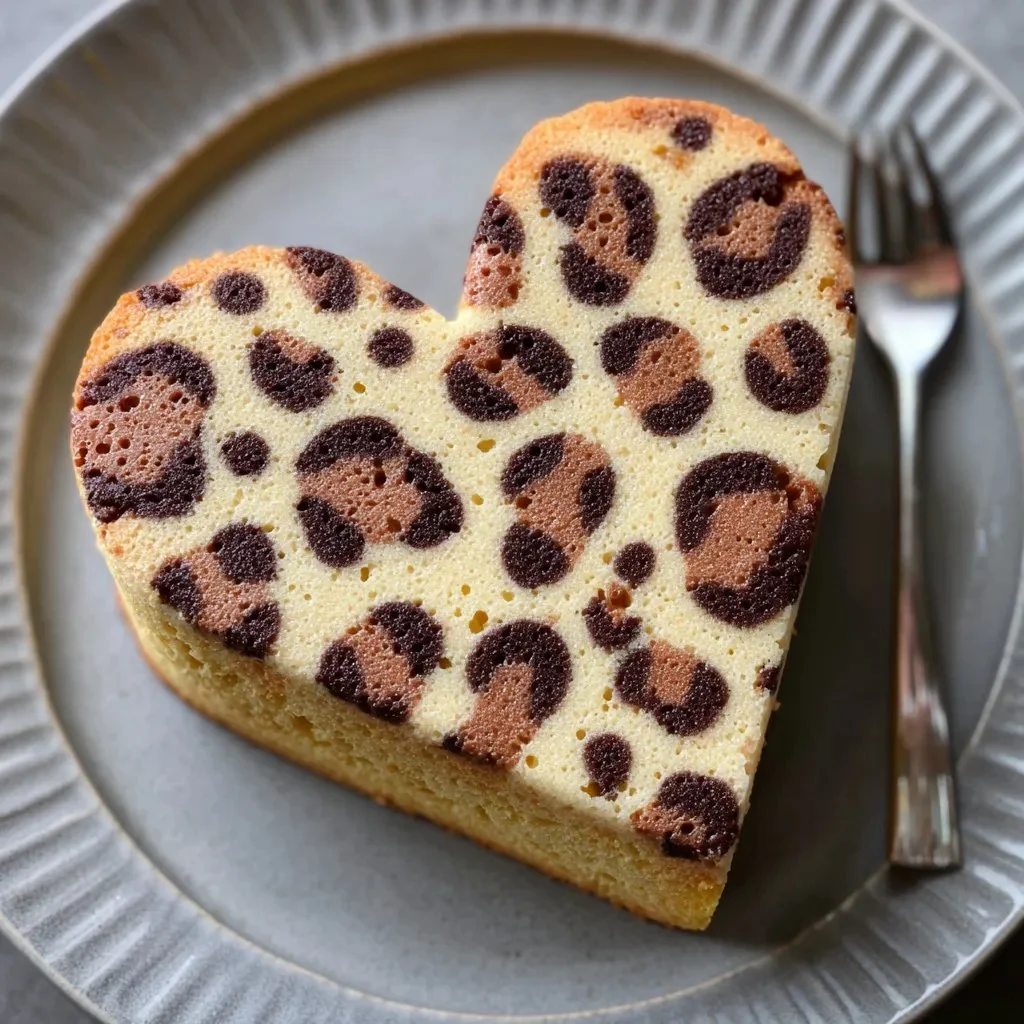
Imagine biting into a moist slice of cake that captures the essence of classic cannoli. The robust flavors of vanilla and rich ricotta interspersed with pockets of chocolate chips create an irresistible sensory experience. It’s not just the taste; it’s the texture that makes you close your eyes and savor each moment. This Cannoli Cake is perfect for celebrating milestones or simply indulging in your well-deserved downtime.
The Complete Cooking Journey
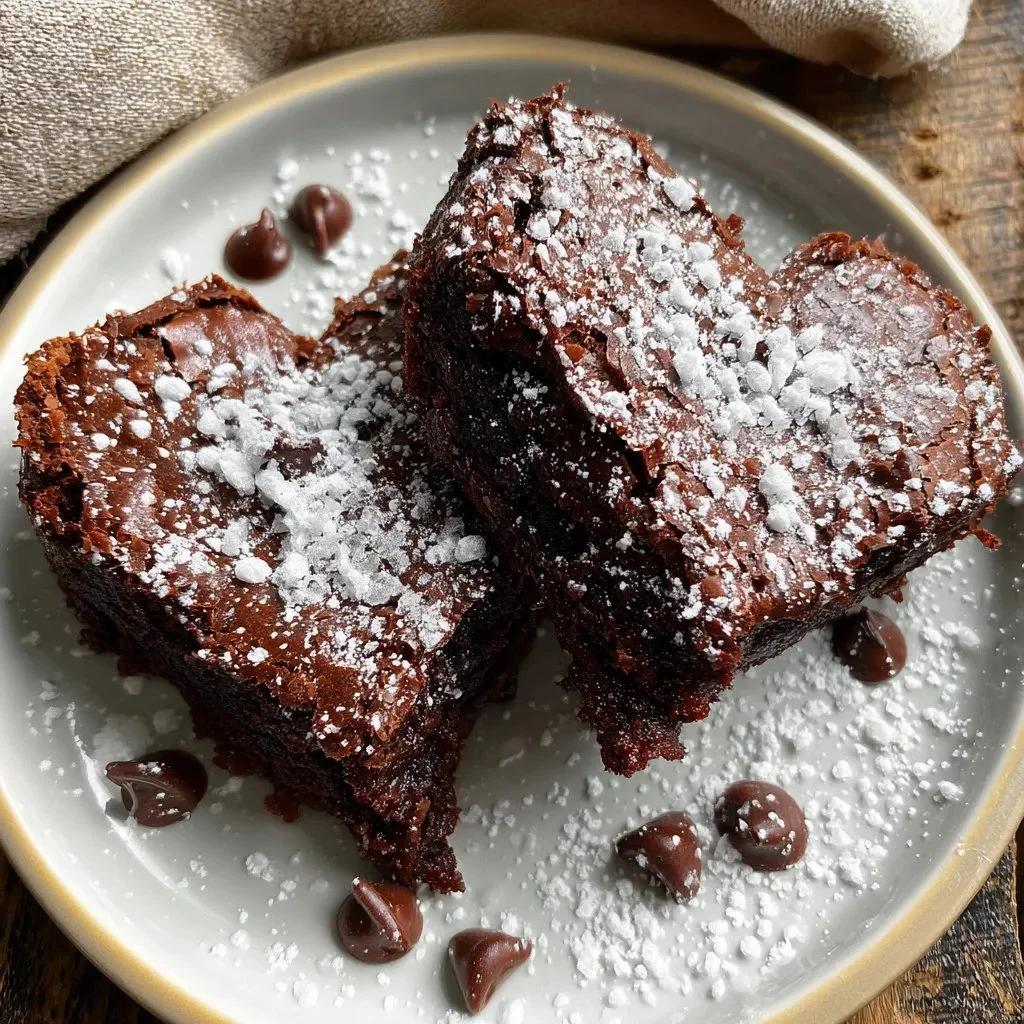
Baking this Cannoli Cake is an adventure that begins with the inviting scent of butter and sugar being creamed together, followed by the playful act of folding in fluffy ricotta and mini chocolate chips. As the batter swirls together, anticipation builds until the cakes rise in the oven, transforming into golden discs. The final touch—a dusting of powdered sugar—adds a whimsical flourish, inviting everyone to come and take a slice.
Ingredients:
- 2 cups all-purpose flour
- 1 1/2 teaspoons baking powder
- 1/2 teaspoon baking soda
- 1/2 teaspoon salt
- 1 cup unsalted butter, softened
- 1 cup granulated sugar
- 3 large eggs
- 1 teaspoon vanilla extract
- 1/2 cup buttermilk
- 1 cup ricotta cheese
- 1/2 cup mini chocolate chips
- Powdered sugar for dusting
Method:
Step 1: Preheat the Oven
Preheat the oven to 350°F (175°C). Grease and flour two 9-inch round cake pans to ensure your cakes effortlessly release.
Step 2: Combine Dry Ingredients
In a bowl, mix together the flour, baking powder, baking soda, and salt. This creates a balanced foundation for your cake.
Step 3: Cream the Butter and Sugar
In a separate bowl, cream the softened butter and granulated sugar until the mixture is light and fluffy. This process introduces air, contributing to a tender cake.
Step 4: Incorporate the Eggs
Add the eggs one at a time, mixing well after each addition. Stir in the aromatic vanilla extract for that signature flavor.
Step 5: Alternate Mixing Dry and Wet Ingredients
Gradually add the dry ingredients to the wet mixture, alternating with the buttermilk. Start and end with the dry ingredients, mixing until just combined to keep your cake light.
Step 6: Add Ricotta and Chocolate Chips
Gently fold in the ricotta cheese and mini chocolate chips, ensuring they’re distributed evenly throughout the batter.
Step 7: Prepare the Cake Pans
Divide the batter equally between the prepared pans and smooth the tops for a balanced bake.
Step 8: Bake the Cakes
Bake for 25-30 minutes, or until a toothpick inserted in the center comes out clean. Your kitchen will start smelling heavenly!
Step 9: Cool the Cakes
Allow the cakes to cool in the pans for 10 minutes, then transfer to wire racks to cool completely. Patience here will pay off with flawless layers.
Step 10: Dust and Serve
Once cooled, layer the cakes together and dust with powdered sugar before serving. A simple yet stunning presentation!
Serving Suggestions & Pairings
This Cannoli Cake shines on its own but pairs beautifully with a dollop of whipped cream or a scoop of vanilla ice cream. Try serving it alongside an espresso or a sweet dessert wine for a truly exquisite experience.
Storage & Leftovers Guide
Stored in an airtight container at room temperature, this cake can last for about 3-4 days. For longer storage, pop it in the fridge where it can stay fresh for up to a week. If you need to make it ahead, the layers freeze well, particularly if wrapped tightly in plastic wrap.
Kitchen Wisdom & Success Tips
- Use room temperature ingredients (butter, eggs, buttermilk) for optimal mixing.
- Ensure your oven is accurately calibrated for even baking.
- Don’t overmix once you add the dry ingredients; that’s key to a soft cake.
Flavor Variations & Adaptations
Feel free to play with flavors! Add a splash of orange or lemon zest for a citrusy twist, or swap out the mini chocolate chips for nuts or dried fruits. You can even layer this cake with a mascarpone frosting for an added touch of Italian flair.
Reader Questions & Solutions
-
Why is my Cannoli Cake dense?
- Check that you didn’t overmix after adding the flour. Also, ensure your baking powder and soda are fresh!
-
Can I make this cake gluten-free?
- Yes! Substitute the all-purpose flour with a gluten-free blend that measures 1:1.
-
How do I know when my cake is done?
- A toothpick inserted into the center should come out clean or with a few moist crumbs.
-
Can I use another type of cheese?
- You can use mascarpone or cream cheese, but the flavor will differ slightly from traditional ricotta.
-
What if I don’t have buttermilk?
- You can make a substitute by mixing regular milk with a tablespoon of vinegar or lemon juice. Let it sit for a few minutes before using.
Wrapping Up
Baking this Cannoli Cake is a joyful experience that brings together the best of sweet traditions and modern celebrations. It’s more than just a recipe; it’s a delightful story you can share with family and friends. So, gather your ingredients and let your kitchen fill with warmth and sweetness—your Cannoli Cake awaits. Happy baking!
PrintCannoli Cake
A delightful and moist cake inspired by classic cannoli, filled with ricotta and chocolate chips, perfect for any occasion.
- Prep Time: 20 minutes
- Cook Time: 30 minutes
- Total Time: 50 minutes
- Yield: 10-12 servings 1x
- Category: Dessert
- Method: Baking
- Cuisine: Italian
- Diet: Vegetarian
Ingredients
- 2 cups all-purpose flour
- 1 1/2 teaspoons baking powder
- 1/2 teaspoon baking soda
- 1/2 teaspoon salt
- 1 cup unsalted butter, softened
- 1 cup granulated sugar
- 3 large eggs
- 1 teaspoon vanilla extract
- 1/2 cup buttermilk
- 1 cup ricotta cheese
- 1/2 cup mini chocolate chips
- Powdered sugar for dusting
Instructions
- Preheat the oven to 350°F (175°C). Grease and flour two 9-inch round cake pans.
- In a bowl, mix together the flour, baking powder, baking soda, and salt.
- Cream the softened butter and granulated sugar until light and fluffy.
- Add the eggs one at a time, mixing well after each addition, and stir in vanilla extract.
- Gradually add the dry ingredients to the wet mixture, alternating with buttermilk.
- Fold in the ricotta cheese and mini chocolate chips evenly throughout the batter.
- Divide the batter equally between the prepared pans and smooth the tops.
- Bake for 25-30 minutes, or until a toothpick comes out clean.
- Allow to cool in the pans for 10 minutes, then transfer to wire racks to cool completely.
- Dust with powdered sugar before serving.
Notes
For optimal mixing, use room temperature ingredients. Ensure even baking by calibrating your oven.
Nutrition
- Serving Size: 1 slice
- Calories: 350
- Sugar: 20g
- Sodium: 280mg
- Fat: 18g
- Saturated Fat: 7g
- Unsaturated Fat: 10g
- Trans Fat: 0g
- Carbohydrates: 45g
- Fiber: 1g
- Protein: 4g
- Cholesterol: 90mg