
There’s something magical about desserts that bring back childhood memories, isn’t there? For many of us, the mere mention of Oreos can conjure images of summer afternoons spent with friends, sharing stories and laughter over scoops of melted ice cream. That’s why I am excited to share my take on a classic indulgence: Oreo Ice Cream Cake. This recipe is a celebration of simple ingredients that come together to create a dessert people simply can’t resist. It layers silky ice cream with a crunchy Oreo crust, making it the perfect treat for any occasion!
Recipe Timing
- Prep Duration: 15 minutes
- Active Cooking: 15 minutes
- Total Duration: 2 hours and 45 minutes (including freezing time)
- Portion Size: Serves 12
- Complexity: Simple
Nutritional Recipe
- Calories per portion: Approx. 350
- Protein: 5 grams
- Carbs: 35 grams
- Fats: 20 grams
- Fiber: 1 gram
- Sugars: 25 grams
- Sodium: 180 mg
Why You’ll Love This Oreo Ice Cream Cake
Who wouldn’t love a dessert that combines two beloved ice cream flavors with the iconic crunch of Oreo cookies? It’s like bringing an ice cream parlor right into your home! Whether you’re celebrating a special day or simply seeking a sweet escape from the everyday hustle, this Oreo Ice Cream Cake will surely make everyone smile. It’s easy to make, can be prepared ahead of time, and requires no baking, allowing you to focus on enjoying the moment!
The Complete Cooking Journey
From gathering your ingredients to the moment you take that first scoop, every step of making this Oreo Ice Cream Cake is a delightful experience. Let’s dive in and explore how simple it is to create this dreamy treat!
Ingredients:
- 1 package Oreo cookies
- 1/2 cup butter, melted
- 1 quart vanilla ice cream, softened
- 1 quart chocolate ice cream, softened
- 1 container whipped topping
- Chocolate syrup (for drizzling)
Method:
Step 1: Crush the Oreo Cookies
Start by taking that package of Oreo cookies and giving them a good crush. You can use a food processor for a fine crumb, or place them in a zip-top bag and smash them with a rolling pin if you’d like to channel your inner baker! Mix the crushed cookies with melted butter until it resembles wet sand.
Step 2: Form the Crust
Now, press that delicious mixture firmly into the bottom of a 9×13 inch pan to form the base of your cake. Be sure to spread it evenly for that perfect crust. Once you’re satisfied with your work of art, place it in the freezer for approximately 30 minutes to set.
Step 3: Layer the Vanilla Ice Cream
With the crust chilled and ready to go, it’s time for the luscious vanilla ice cream. Spread the softened vanilla layer over the Oreo crust, smoothing it out carefully with a spatula. Pop it back into the freezer for about 30 minutes, allowing it to firm up just a bit.
Step 4: Add the Chocolate Ice Cream
Next up, spread the softened chocolate ice cream on top of your vanilla layer. Again, smooth it evenly with a spatula for a neat finish. This is where the magic happens! Return the pan to the freezer and let it chill until it’s completely firm—this could take anywhere from 1 to 2 hours.
Step 5: Finish with Whipped Topping
Once your chocolate layer is set, grab that container of whipped topping and spread it generously over the chocolate ice cream. This fluffy layer will add a beautiful finish to your cake!
Step 6: Drizzle with Chocolate Syrup
Drizzle chocolate syrup over the whipped topping in a zigzag pattern for that indulgent touch. If you’re feeling extra fancy, a sprinkle of crushed Oreos on top would rock too!
Step 7: Slice and Enjoy!
With everything beautifully layered and topped, it’s time to serve! Slice into decadent pieces and watch the delight in your guests’ eyes as they dive into this treat.
Serving Suggestions & Pairings
This Oreo Ice Cream Cake shines when paired with a fresh berry compote for a tangy contrast or a scoop of your favorite ice cream on the side. When hosting, consider serving it alongside strong coffee or herbal tea to balance the sweetness.
Storage & Leftovers Guide
This cake can be kept in the freezer for up to a week. Just ensure it’s covered with plastic wrap or foil to keep it from absorbing any freezer odors. To serve leftovers, simply slice and serve straight from the freezer for maximum freshness!
Kitchen Wisdom & Success Tips
- Make sure your ice cream is thoroughly softened before spreading; it helps to create those perfect layers without too much effort.
- If your whipped topping isn’t cooperating, give it a quick whip with a mixer to create a fluffier texture before spreading it.
Flavor Variations & Adaptations
Feel free to switch up the ice cream flavors! Neapolitan is a fun alternative, or perhaps mint chocolate chip for a refreshing twist. You could experiment with different toppings or add nuts for a crunchy contrast—get creative!
Reader Questions & Solutions
-
Can I use store-bought whipped cream instead of topping?
Absolutely! Just make sure to whip it up to soft peaks for the best texture. -
How can I make this cake gluten-free?
Simply use gluten-free Oreo cookies for the crust! -
What if my ice cream is too hard to spread?
Let it sit at room temperature for a bit longer. Ideally, it should be soft but not melted. -
Can I add layers or alternate flavors?
Definitely! You could alternate layers of flavors for a beautiful rainbow effect. -
What should I do if my cake isn’t freezing well?
Ensure your freezer is set to the right temperature. If it’s not firming up, consider breaking it into smaller pieces to freeze quicker.
Wrapping Up
There’s nothing like an Oreo Ice Cream Cake to satisfy your sweet tooth while creating lasting memories with friends and family. It’s a straightforward and fun treat to whip up, perfect for those warm evenings or cozy gatherings. So go ahead, dive into the process, savor each layer, and celebrate the delicious result. You’ve got this, and I can’t wait to hear how yours turns out! Happy baking—and more importantly, happy enjoying!
PrintOreo Ice Cream Cake

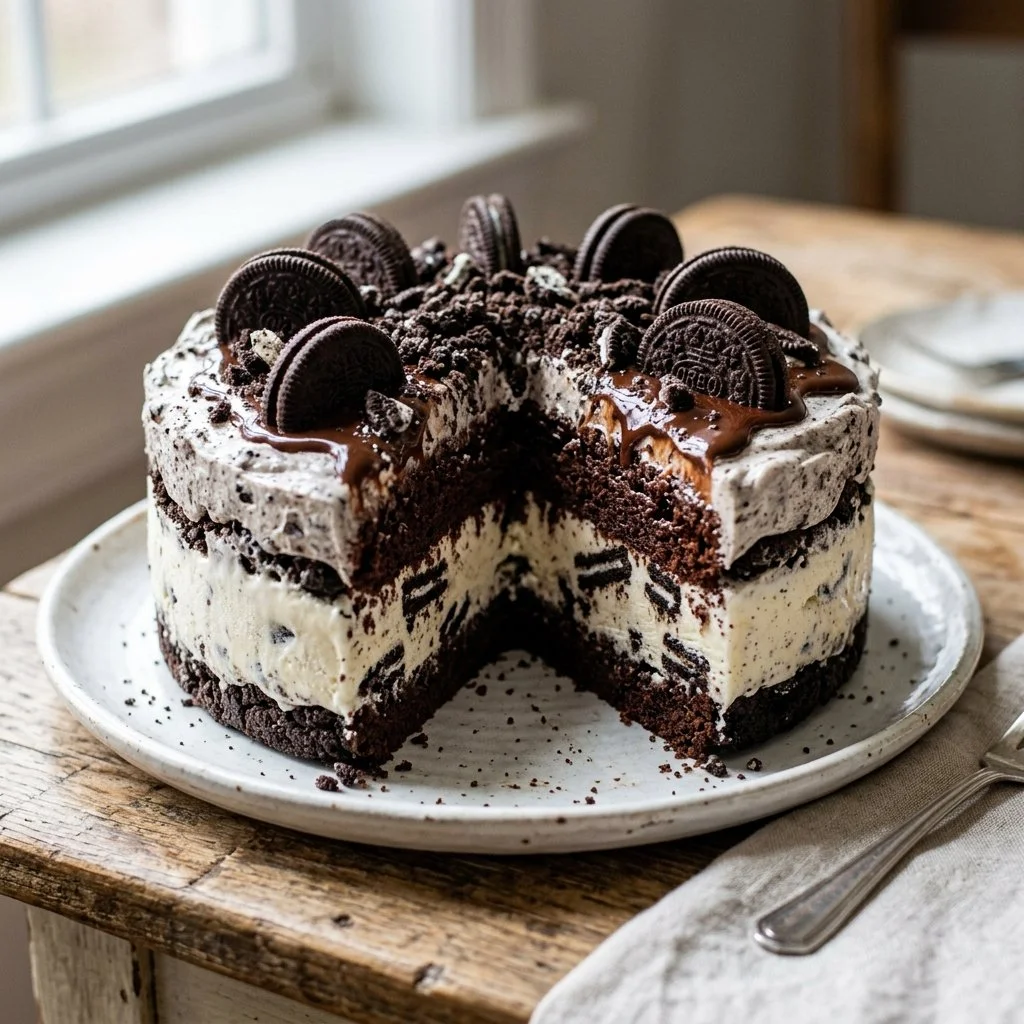
A delightful dessert combining layers of silky ice cream with a crunchy Oreo crust, perfect for any occasion.
- Prep Time: 15 minutes
- Cook Time: 15 minutes
- Total Time: 165 minutes
- Yield: 12 servings 1x
- Category: Dessert
- Method: No-Bake
- Cuisine: American
- Diet: Vegetarian
Ingredients
- 1 package Oreo cookies
- 1/2 cup butter, melted
- 1 quart vanilla ice cream, softened
- 1 quart chocolate ice cream, softened
- 1 container whipped topping
- Chocolate syrup (for drizzling)
Instructions
- Crush the Oreo Cookies: Crush the Oreo cookies using a food processor or rolling pin, then mix with melted butter until it resembles wet sand.
- Form the Crust: Press the mixture firmly into the bottom of a 9×13 inch pan and freeze for about 30 minutes.
- Layer the Vanilla Ice Cream: Spread softened vanilla ice cream over the crust and freeze for another 30 minutes.
- Add the Chocolate Ice Cream: Spread softened chocolate ice cream on top of the vanilla layer and freeze until firm, about 1 to 2 hours.
- Finish with Whipped Topping: Spread whipped topping over the chocolate layer.
- Drizzle with Chocolate Syrup: Drizzle chocolate syrup over the whipped topping.
- Slice and Enjoy: Slice the cake into pieces and serve.
Notes
This cake can be kept in the freezer for up to a week. Ensure it’s covered to avoid freezer odors.
Nutrition
- Serving Size: 1 serving
- Calories: 350
- Sugar: 25g
- Sodium: 180mg
- Fat: 20g
- Saturated Fat: 10g
- Unsaturated Fat: 5g
- Trans Fat: 0g
- Carbohydrates: 35g
- Fiber: 1g
- Protein: 5g
- Cholesterol: 30mg